Wednesday, 16 May 2018

Lego + Micro:bit + edublocks 1: ''Lights on"


Lego + Code blog 1 : 'Lights on'


You will need:

  • A Micro:bit
  • USB power cable for Micro:bit
  • 3 x crocodile clips
  • 1 neo-pixel 
  • A Lego building of your choice(I borrowed my sons Police building)
  • https://microbit.edublocks.org/
Step 1 Connect the crocodile clips to the Micro:bit.


Step 2 Connect your crocodile clips to the input on the neo pixel.


Step 3 Attach neopixel on your building.


Step 4 Head over to https://microbit.edublocks.org/


Step 5 Create the following code:

Step 6: Download hex and copy and paste it to your Micro:bit

Step 7: After it flashes press the 'a' button to turn on the lights and 'b' to turn off.

Enjoy.


If you like this blog check out all the others here

Thursday, 10 May 2018

Scratchy:bit IO getting started


Full credit is given in the read me of the zip file. Suffice to say I have used BitIO built by David Whale and a Python to Scratch script created by Laurence Molloy.

It essentially allows you to use the Micro:bit to interact and control Scratch. I have created a simple demo to get you started.


Step 1. You will need to download the tar / zip file from here link

Step 2: Unzip the folder by extracting it.

Step 3: Follow the following file path Scratchy:bit IO-master/src

Step 4: Open Scratch 1.4  from the programming menu and open the 'Scratchy:bit IO led example1.sb' project 

Step 5:  Click on the green flag to run the project.

Step 6: Open Python 3 from the programming menu.

Step 7: From the Scratchy:bit IO-master/src file path open the test_example_MB1.py script.

Step 8:  Press f5 to run the script. 


Step 9: On first run you will have to run through the following steps to set up your Micro:bit


First of all it will display this message:

No micro:bit has previously been detected
Scanning for serial ports
remove device, then press ENTER

Step 1. So unplug the Micro:bit and press enter.

Step 2  Next the following text will display:

scanning...
found xx device(s)
plug in device, then press ENTER 

 Step 3  Now press enter and the following text will display:

scanning...
found 68 device(s)
found 1 new device
selected:/dev/ttyACM0
Do you want this device to be remembered? (Y/N)

Step 4 Press 'y' and enter to confirm and the following text will display:

Your micro:bit has been detected.
Now running your program


Step 10 Finally if you click on the 'a' button you see some events take place. You can also press 'b' and use pins 0,1,2.

See below for button 'a' being pressed


Cya

If you like this blog check out all the others here

EduBlocks: BitIO blog 1 "Hello Micro:bit, Hello Minecraft"


This is a very simple introduction to using BitIO with Edublocks on the Raspberry Pi. Firsly lets set out how you need to get set up:


1. Open Minecraft and create a new world, then minimise this for later. Tip, use the tab key to allow your mouse to minimise the Minecraft window.

2. Open Edublocks from the programming menu, this should open in the chromium browser.

3. Plug in your Micro:bit to one of the available USB ports.

4. You will need to download this file and drag a copy of it onto the Micro:bit. This file allows the Micro:bit communicate with your program. Link https://github.com/whaleygeek/bitio/blob/master/bitio.hex

5. Now snap into place the code that you see below. It will trigger a message on the Micro:bit when the 'a' button is pressed and a message in Minecraft when the 'b' is pressed.

Code


6. When you run the program Edu Blocks will show a black screen which will show you the shell output. This tells you what is going on with your program. First of all it will display this message:

No micro:bit has previously been detected
Scanning for serial ports
remove device, then press ENTER

7. So unplug the Micro:bit and press enter.

8. Next the following text will display:

scanning...
found xx device(s)
plug in device, then press ENTER 

9. Now press enter and the following text will display:

scanning...
found 68 device(s)
found 1 new device
selected:/dev/ttyACM0
Do you want this device to be remembered? (Y/N)

10. Press 'y' and enter to confirm and the following text will display:

Your micro:bit has been detected.
Now running your program
11. Now try and pressing the 'a' button and 'b' button. When you press 'b' you should see this...


 Cya


If you like this blog check out all the others here


Sunday, 15 April 2018

Coventry and Warks Jam '19


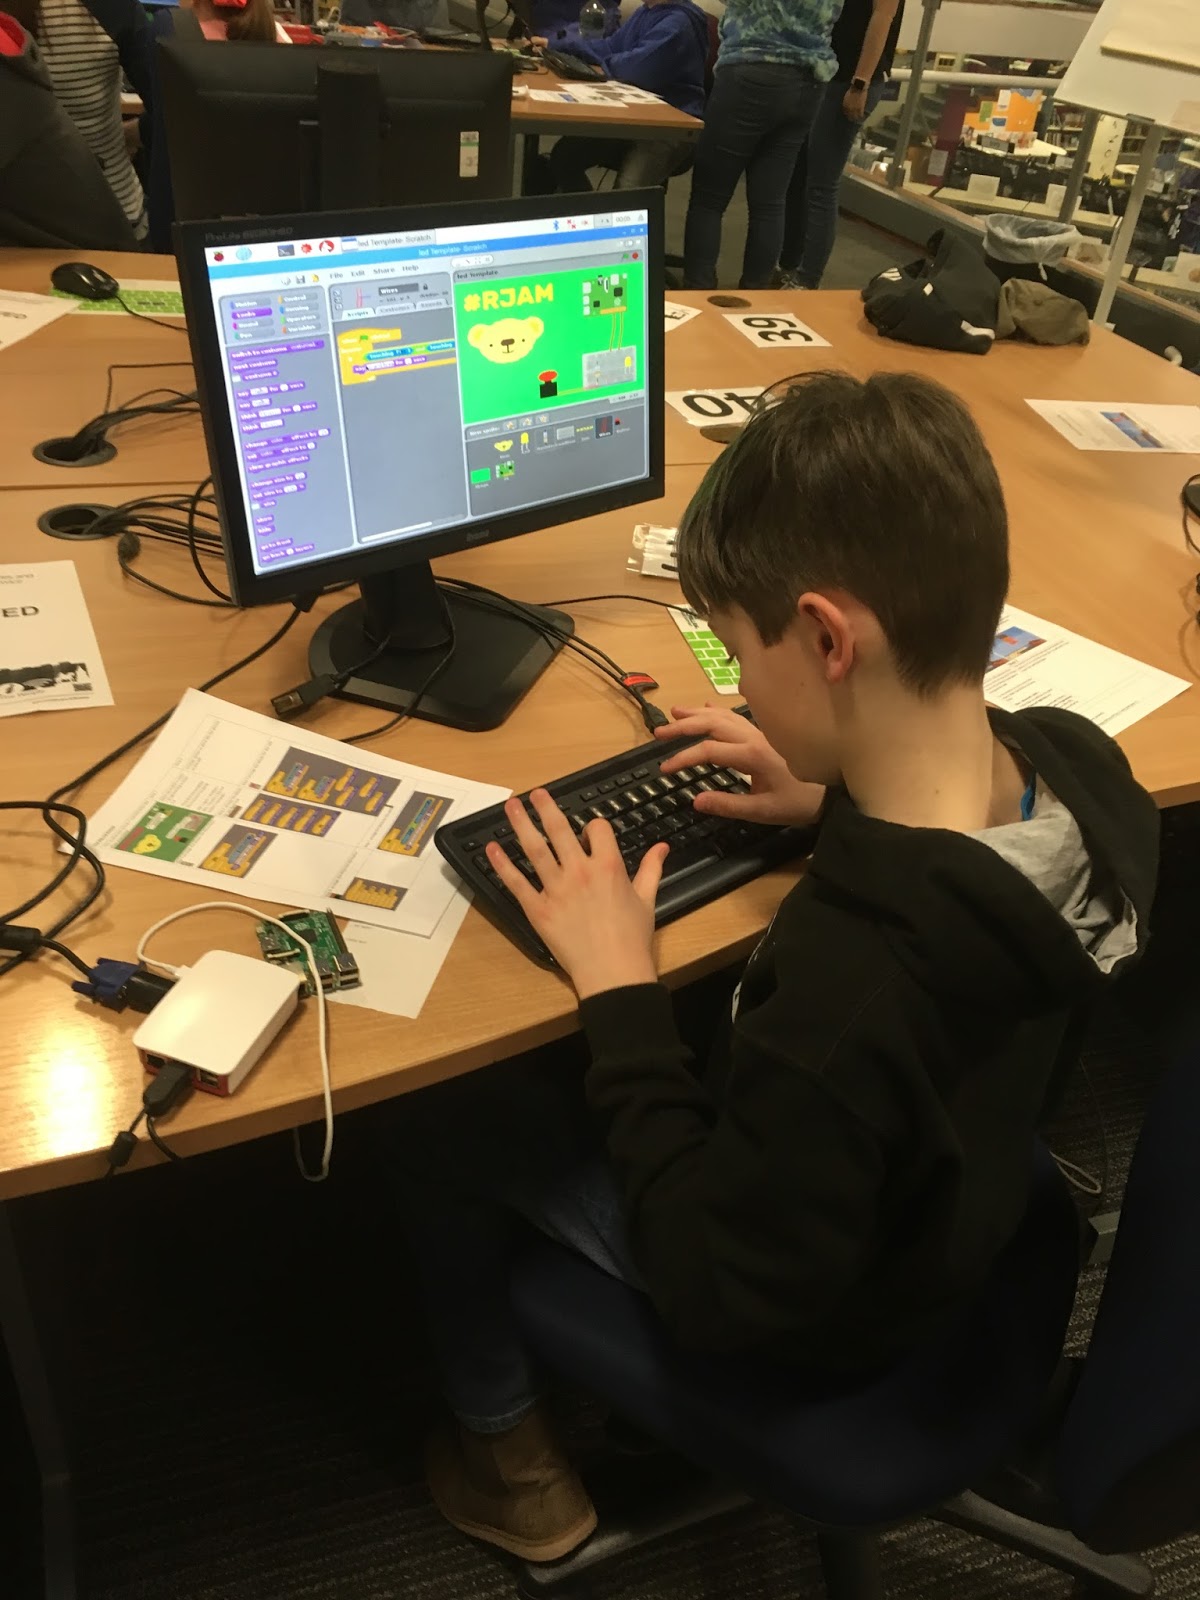
Jam '19 was at Coventry Central Library with one session using an improved version of 'Big Red Button' Scratch resource(link) and session two was the first outing for the 'Micro:bit Minecraft PixelCakes'  resource(link). I'll upload the master folder with the other files needed.


Secondly many thanks to Anthony Orme and Kari Lawler for their much help.

Below you can see a few photo's I managed to take in between running around.

Next Jams are......

The next two Jams will be Nuneaton(tba) and Leamington(tba) at some point over the next 3 months.


The next Minecraft coding session available is 'Experiments with Minecraft' in collaboration with Coventry FabLab (link). The first session has filled up quickly so we will be offering a second session to try and give people chance to get a ticket. 


Cya.

If you like this blog check out all the others here

Sunday, 8 April 2018

Experiments with GPIO(all the links in one page)


Triggers /switches 1
link

Experiments with GPIOTriggers / switches)


Using gpio triggers / switches 3 demos.

All of these three demos use GPIO PIN 3 as a trigger.

Demo 1 / Scalable housing

This code will allow you to use gpio PIN 3 and GND with two male to female jumper cables attached as a switch / or trigger for an event in Minecraft. This example triggers an question to ask you how many houses you would like in a row/ street. After typing this in you it then renders the "street" in your Minecraft world. Which needs to be open before you execute the code or else it will give an error.


What you will need:
  • Two female to male jumper cables
  • Raspberry Pi
  • Minecraft Pi installed the code from below
You can see below an example street of 7 houses:


Code

You can download the code from here


Demo 3: Storm Trooper and Rainbow Walls

This is 32block x 32 block grid animation. Coding wise its not as efficient as demo 2 but creates some nice effects. You can see what it does by clicking on the link to the video below.

You can see the event working here:

link


Code

link


Demo 2: Pixel Cakes

This is a simplified version of the RPI pixelcakes activity which works with Micro:bit. You can see what it does by clicking on the link to the video below.

You can see the event working here:

link

Code

link


Enjoy,


Chris


If you like this blog check out all the others here

Tuesday, 3 April 2018

BitIO blog 14: Scalable housing

Scalable Housing


This blog is based on the original house an article from issue 68 of the Magpi Magazine which you can buy here , or download for free from here.

The article is on page 54.  It was written by a chap called Steve Martin who you can access on Twitter here . Without digging too deep it seems as though he helps run/ attends the Cotswold Jam. This is an excellent tutorial in how to get started with Python and Minecraft. I have slightly modified and extended the code to work with the Micro:bit. This version creates a 3-4 storey version which creates 2 sides of a "road". It is buggy as the right handside faces the wrong way. You click on 'b' button to set how many houses are in the road and then 'a' button to execute the printing of the rows of houses.

As usual this Micro:bit code uses the excellent bitIO library created by David Whale see more here.  Here is an example of what my extended version does:


5 houses...
Each printing session creates two rows, notice the glitch with the doors being on opposite sides.

You can download the extended version of the code here.

Enjoy,

Chris Penn
  

If you like this blog check out all the others here